1 . 4 - Set-up Sampling Strategy
Once your site boundaries and plans are set, you need to create the specific "GPS waypoints" (Checkpoints) your field team will follow. Each checkpoint then needs specific "to-do" items (Tasks).
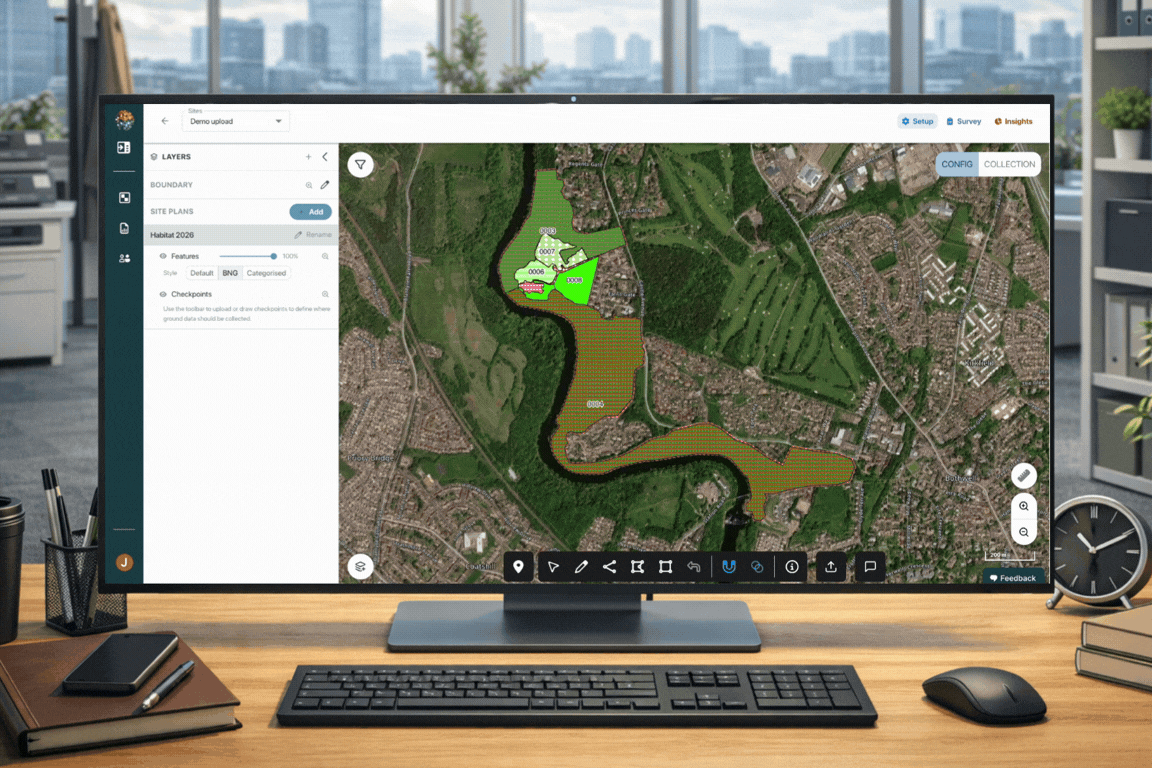
1.4.1 - Placing Checkpoints
You can set up your sampling strategy in three different ways:
Method A: Mozaic Earth AI Generation
If you are unsure of where to place points, contact Johanna at Mozaic Earth and we can utilise our technology to AI generate an optimised sampling grid based on your habitat type and the recommended densities mentioned below. This is a premium option, please contact johanna@mozaic.earth for more information.
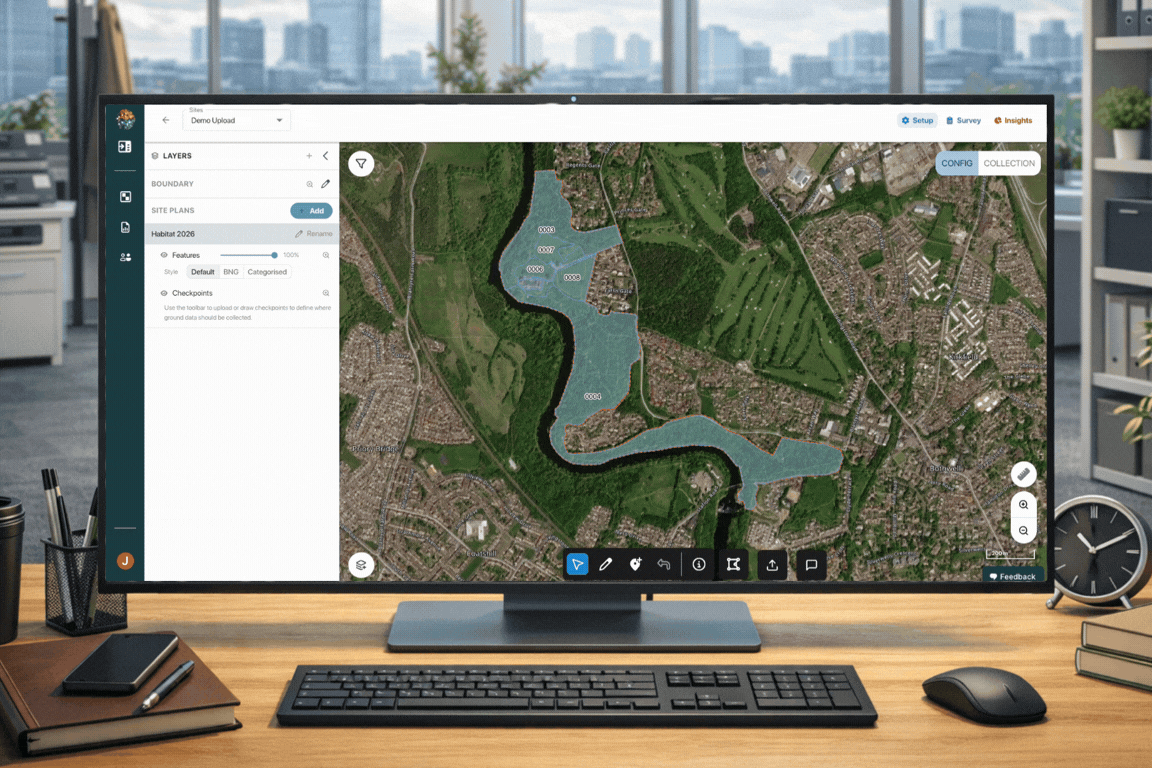
Method B: Upload a Custom Plan
If you have a pre-defined sampling grid from a GIS specialist:
-
Select your Plan (e.g., Habitats 2026).
-
In the bottom toolbar, click Upload > Checkpoints.
-
Drag and drop your geojson or zipped shapefile point layer.
- please note - only WGS84 is accepted
-
Check the mini-map to confirm you are happy with the layer
-
Click Upload.
How to upload a sampling plan and assign tasks to checkpoints
Method C: Manual Placement
-
Click the + Checkpoint icon in the bottom toolbar.
-
Click directly on the map where you want the collector to go.
-
Use the Edit button to drag and move points
-
Delete/Undo if you make a mistake.
How to manually place checkpoints and add tasks
📍 Pro-Tips for Point Placement
-
Safety: Never place points in water or hazardous areas. Safety is the priority.
-
Avoid Edges: Place points inside the parcel to ensure the collector is definitely within the correct habitat, accounting for GPS fluctuations.
-
Distribution: Spread points across the entire parcel rather than clustering them in one corner.
-
Balance Access & Accuracy: Position points near obvious entrances or access points to save your field team time, but keep them far enough from paths to ensure the data is representative of the wilder areas.
1.4.2 - Average point density from the Mozaic Automated model
To ensure scientific robustness without overworking field teams, we utilise these sampling point densities per habitat in our automated model:
| Habitat type | Point denisty (per ha) | Minimum points per parcel |
|---|---|---|
| Woodland | 1.5 | 3 |
| Arable (Field) | 0.3 | 1 |
| Arable (Field Margins) | 0.4 | 2 |
| Grassland | 0.4 | 2 |
| Heathland / Wetland | 0.4 | 3 |
| Urban | 0.3 | 1 |
| Hedgerow | 1x per 20 meters (5m offset) 1x beginning (width measurement) | N/A |
| Line of Trees | 1x per 20 meters (15m offset) | N/A |
1.4.3 - Adding Tasks
A checkpoint with "0" tasks will not show up as an action item in the mobile app. You must assign tasks to tell the collector what to capture.
-
Click a checkpoint on the map to select
-
Click the Add Task icon to see the list of available tasks (e.g., Horizontal 360°, Quadrat).
-
Once selected, the number on the checkpoint will change from 0 to the number of tasks assigned.
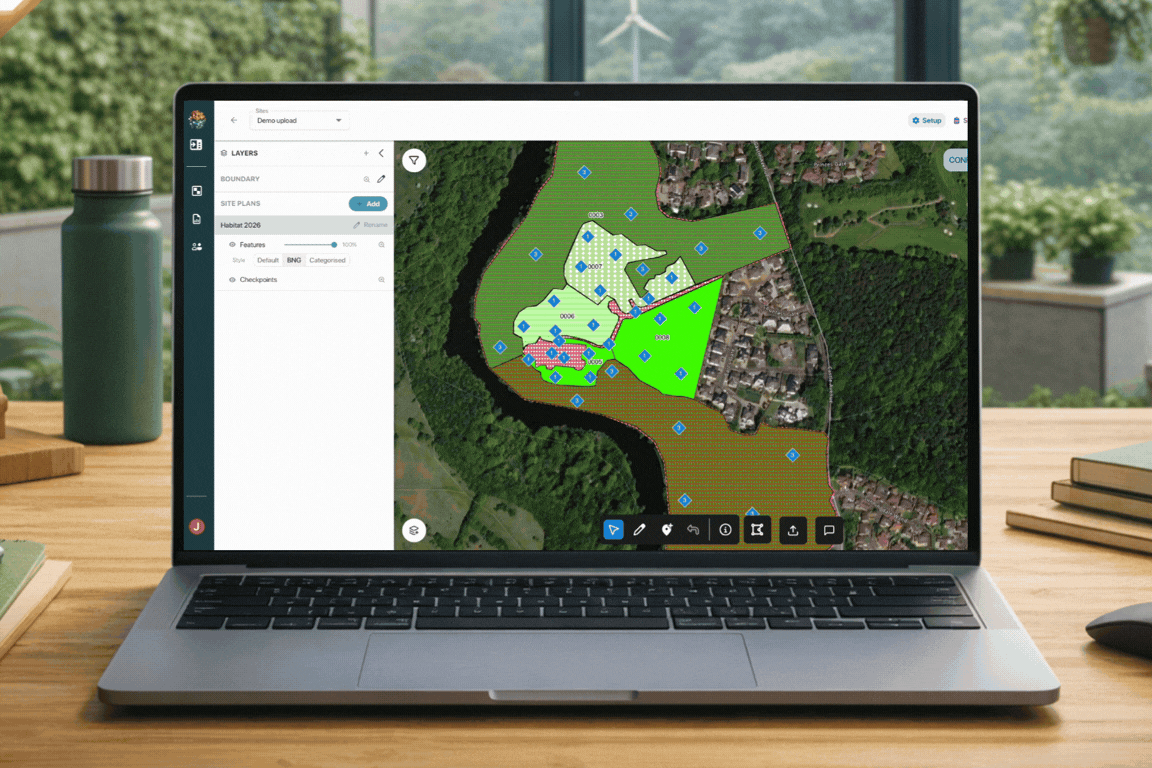
💡 Pro Tip: Speed Up Your Workflow (Bulk Actions)
Don't add tasks one by one! Use these shortcuts to manage multiple checkpoints at once:
-
Select All: Press Ctrl + A to select every checkpoint on the map.
-
Box Select: Hold Ctrl and drag a box around a specific group of points.
-
Specific Select: Hold Shift and click individual checkpoints to group them.
-
Bulk Assign: Once multiple points are selected, click Add Task once to apply that task to the entire selection.
1.4.4 - Recommended Task Types
Tasks are designed to be intuitive, requiring no prior ecological experience to utilise the data collection app. Once a collector reaches a checkpoint, the app will prompt them for specific actions, please see table below to understand the different task types offered in the platform and what they do on the app.
| Task Name | Decription |
|---|---|
| 360° Ground | 4x images, taken North/ East/ South/West directions, with the camera tilted towards the ground |
| 360° Horizontal | 4x images, taken North/ East/ South/West directions, with the camera angling towards the horizon |
| 360° Canopy | 4x images, taken North/ East/ South/West directions, with the camera angling towards the canopy of a forest |
| Ground photo | 1x image, taken facing the ground |
| Quadrat | 5x images, taken of a quadrat. 1 image of the full quadrat, and 4 images of each corner of the quadrat. |
| Hedgerow beginning for width | 1x image facing the start of a hedgerow, to capture how wide the hedgerow is. |
| Hedgerow side-side views | 3x images, one facing the hedgerow, one slightly angled to the left, and one angled to the right |
| Tree side-to-side views | 3x images, one facing the line of trees, one slightly angled to the left, and one angled to the right |
| Bioacoustic: Install + retrieve | Photograph the sensor ID and installation location, upon collection photograph the removal of the sensor. ** Configuration for a specific bioacoustics device, contact us for any modifications needed for your tools. |
| Invertebrate: Install + retrieve | Photograph the installed traps along a transect line, upon retrieval photograph and scan the unique identifier for the eDNA sample to track each sample's geolocation. ** Configuration for a specific eDNA workflow, contact us for any modifications needed for your tools. |
Please see the table below for how Mozaic Earths automated sampling model would allocate tasks per habitat type:
| Habitat type | Tasks per checkpoint | Task Types |
|---|---|---|
| Woodland | 3 | Horizontal 360°, Ground 360°, Canopy 360° |
| Arable (Field) | 2 | Horizontal 360°, Ground 360° |
| Arable (Field margins) | 2 | Horizontal 360°, Quadrat |
| Grassland | 2 | Horizontal 360°, Quadrat |
| Heathland | 2 | Horizontal 360°, Quadrat or Ground |
| Urban | 2 | Horizontal 360°, Ground 360° |
| Wetland | 2 | Horizontal 360°, Quadrat or Ground |
| Hedgerow | 1 | Hedge side-side views, Hedge beginning for width |
| Line of trees | 1 | Tree side-to-side views, |